Westerbeke 40 (4.108) Crankshaft Rear Oil Change
Updated 26 Aug 2022
The rear crankshaft on the Perkins 4.108 is notorious for leaking. The crankshaft is sealed using a rope seal, which is in two parts, sandwiched between two removable plates. The rope seal must be seated perfectly in the plates with just the right amount protruding in order to seal well, and the rope seals tend to fail relatively quickly due to both weak design, and hardening and movement of the materials.
This failure usually presents itself as a steady drip (or stream) coming from the bottom of the bell housing.
In this article i detail how I replaced the shaft seal, sump gaskets, and fixed a few other problems along the way.
How do I know what is leaking?
Often, you'll notice engine oil in the bilge in and around the engine, but it can be hard to know exactly what is leaking, these engines are pretty old now, and in my case i had multiple leaks accumulating at the rear of the engine.
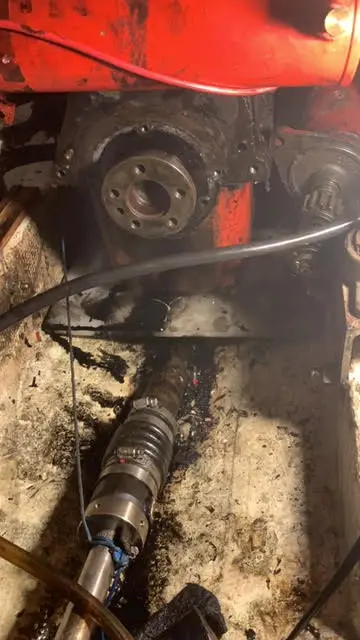
There are a few possible red herrings which you may want to eliminate first.
Any leaks in the rocker cover gasket, will tend to drip along the cylinder head, down the rear face of the engine, in or around the bell housing, and exit below the starter motor.
Leaks around the timing cover can also work their way back along the side of the engine, we had a pinhole in the timing cover and it caused a steady drip from the rear of the sump which looked exactly like the problem from the rear shaft seal, there was almost no oil accumulation on the front cover.
Leaking sump gaskets will also cause a drop at the rear, particularly the cork strips which run along the bottom of the crank seal plates.
As will a leaking front shaft seal in some cases, although usually this hits the pulley and sprays oil in a very defined pattern in plane with the pulley itself.
If the oil has a red hew to it, it may well be ATF fluid leaking from your gearbox, we have a write up for overhauling a Paragon transmission here.
Before you tear into the engine, it's worth cleaning everything as well as you can, use a hose, degreaser, anything you have that cuts into grease and oil, and wipe everything with a sorbant pad. Not only will this make your life a lot easier as you wont get quite so dirty, but you an also run the engine and double check where the leak is coming from before you waste your time chasing the wrong leak.
Once you are sure you've identified the leak, there's not much else to do but get into it, it's only going to get worse, and no matter what it says on the bottle, there is no cure other than to get that seal replaced.
What Seals to Buy
When ordering a new seal, it's worth spending a little extra on the graphite impregnated seal kits, these aren't much more expensive, but they are much more durable. Rather than using flax rope, these are made from teflon and graphite material which reduces wear on the seal, and they can handle a lot more heat before failure than the older seals, which means you get a little more leeway when cutting it and installing it.
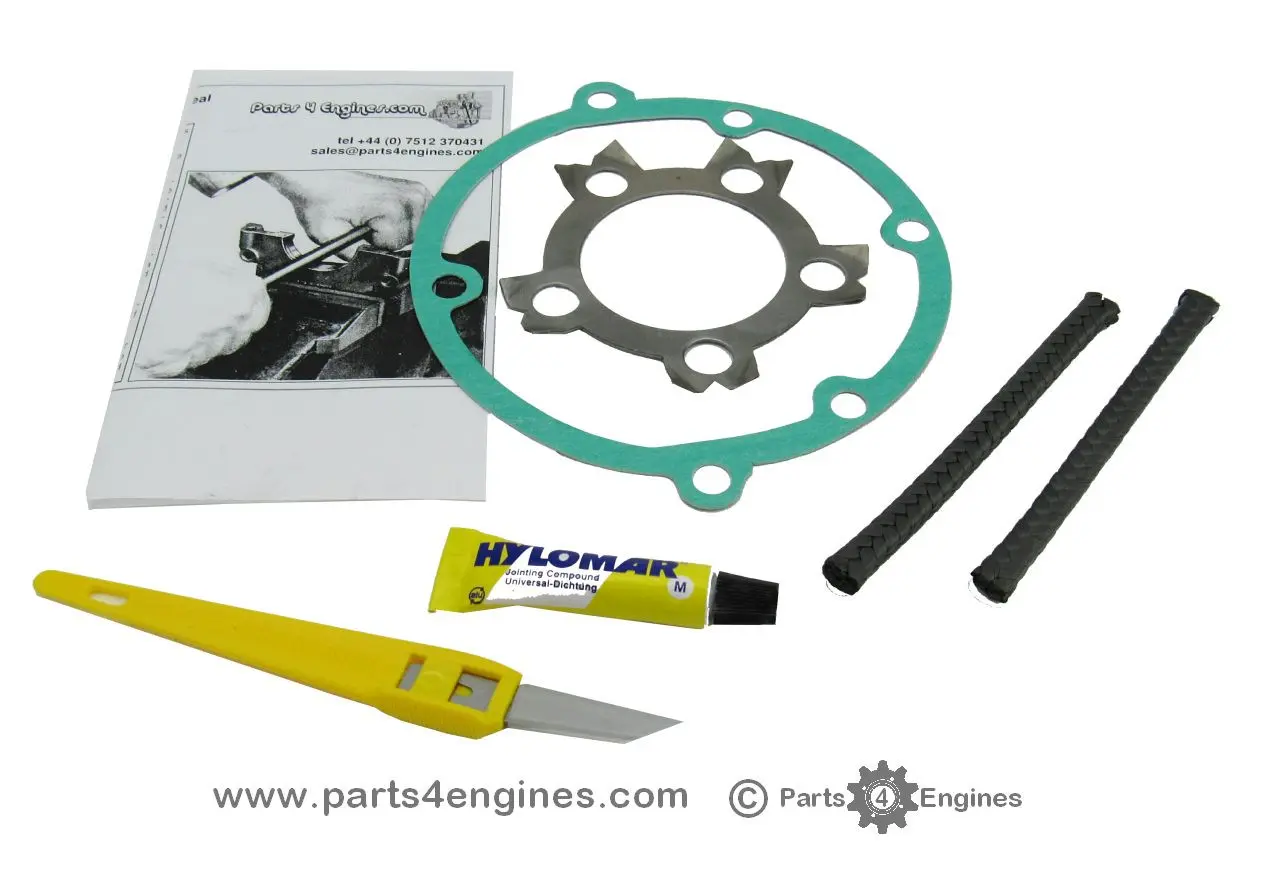
You'll need a few other seals, in addition to the crank seal, at a minimum you will need:
Crankshaft Rope Seal
Crankshaft Seal Case gasket
I typically purchase a full bottom end gasket set, as this comes with both the seal, and all gaskets you could possibly need if you end up opening pandoras box and needing to replace some other gaskets too.
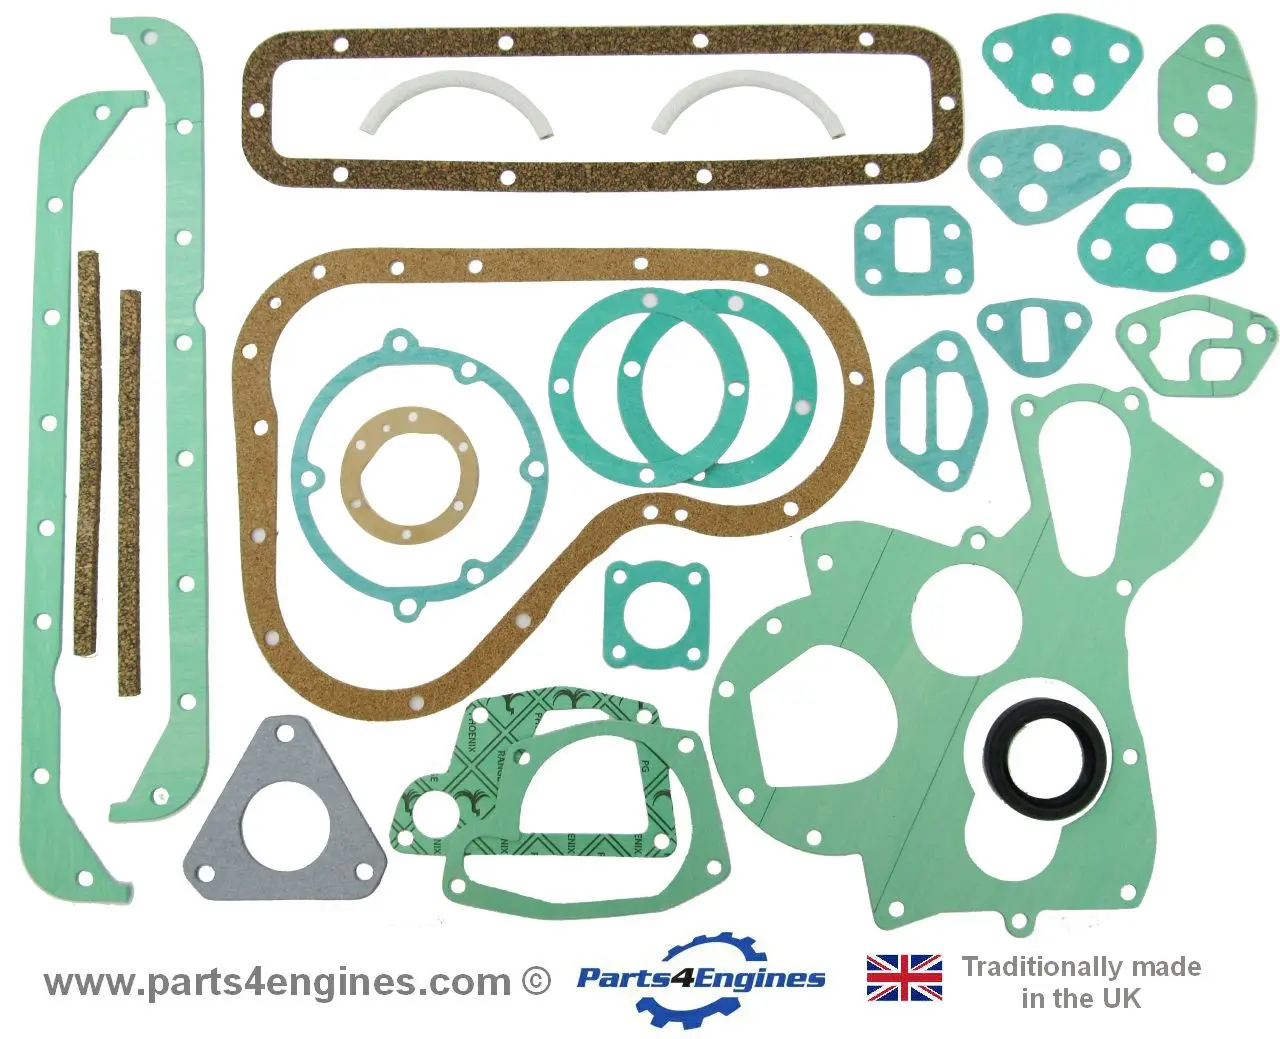
Gaskets for Paragon transmissions are expensive (EBI Basic Power seem to be the only stockist) but they are easy enough to make from gasket paper if you need to.
I've had great experiences with Parts4Engines, they are an online stockist for Perkins and other brands, and will ship worldwide at a sensible rate. I've found that they are often significantly cheaper than US based suppliers including shipping and import duties, and they have excellent customer support.
Tear Down
To get the seal out, you need to get access to the flywheel, which means the bell-housing, gearbox, rear engine mounts, and any heat exchangers and ancillaries in the area also need to be removed.
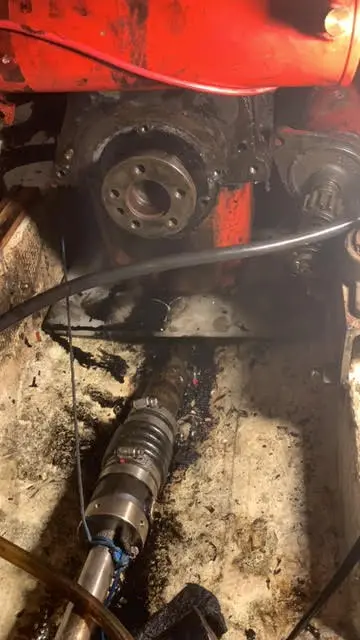
I start by removing the prop bolts from the V-Drive, and tie the prop in place using a line to the forward engine mounts. his stops the prop shaft moving forward when you lift out the gearbox, which in turn stops the PSS leaking. I’d recommend using two lines to try to keep it more centered, as with he one it was easy to bump the shaft to the side resulting in some a good dousing with some sea water.
I remove the V-Drive and Paragon transmission as one unit, disconnecting the gear selector and leaving the bracket in place. I remove the inlet hose from the thru-hull, and the outlet from the heat exchanger on the gearbox.
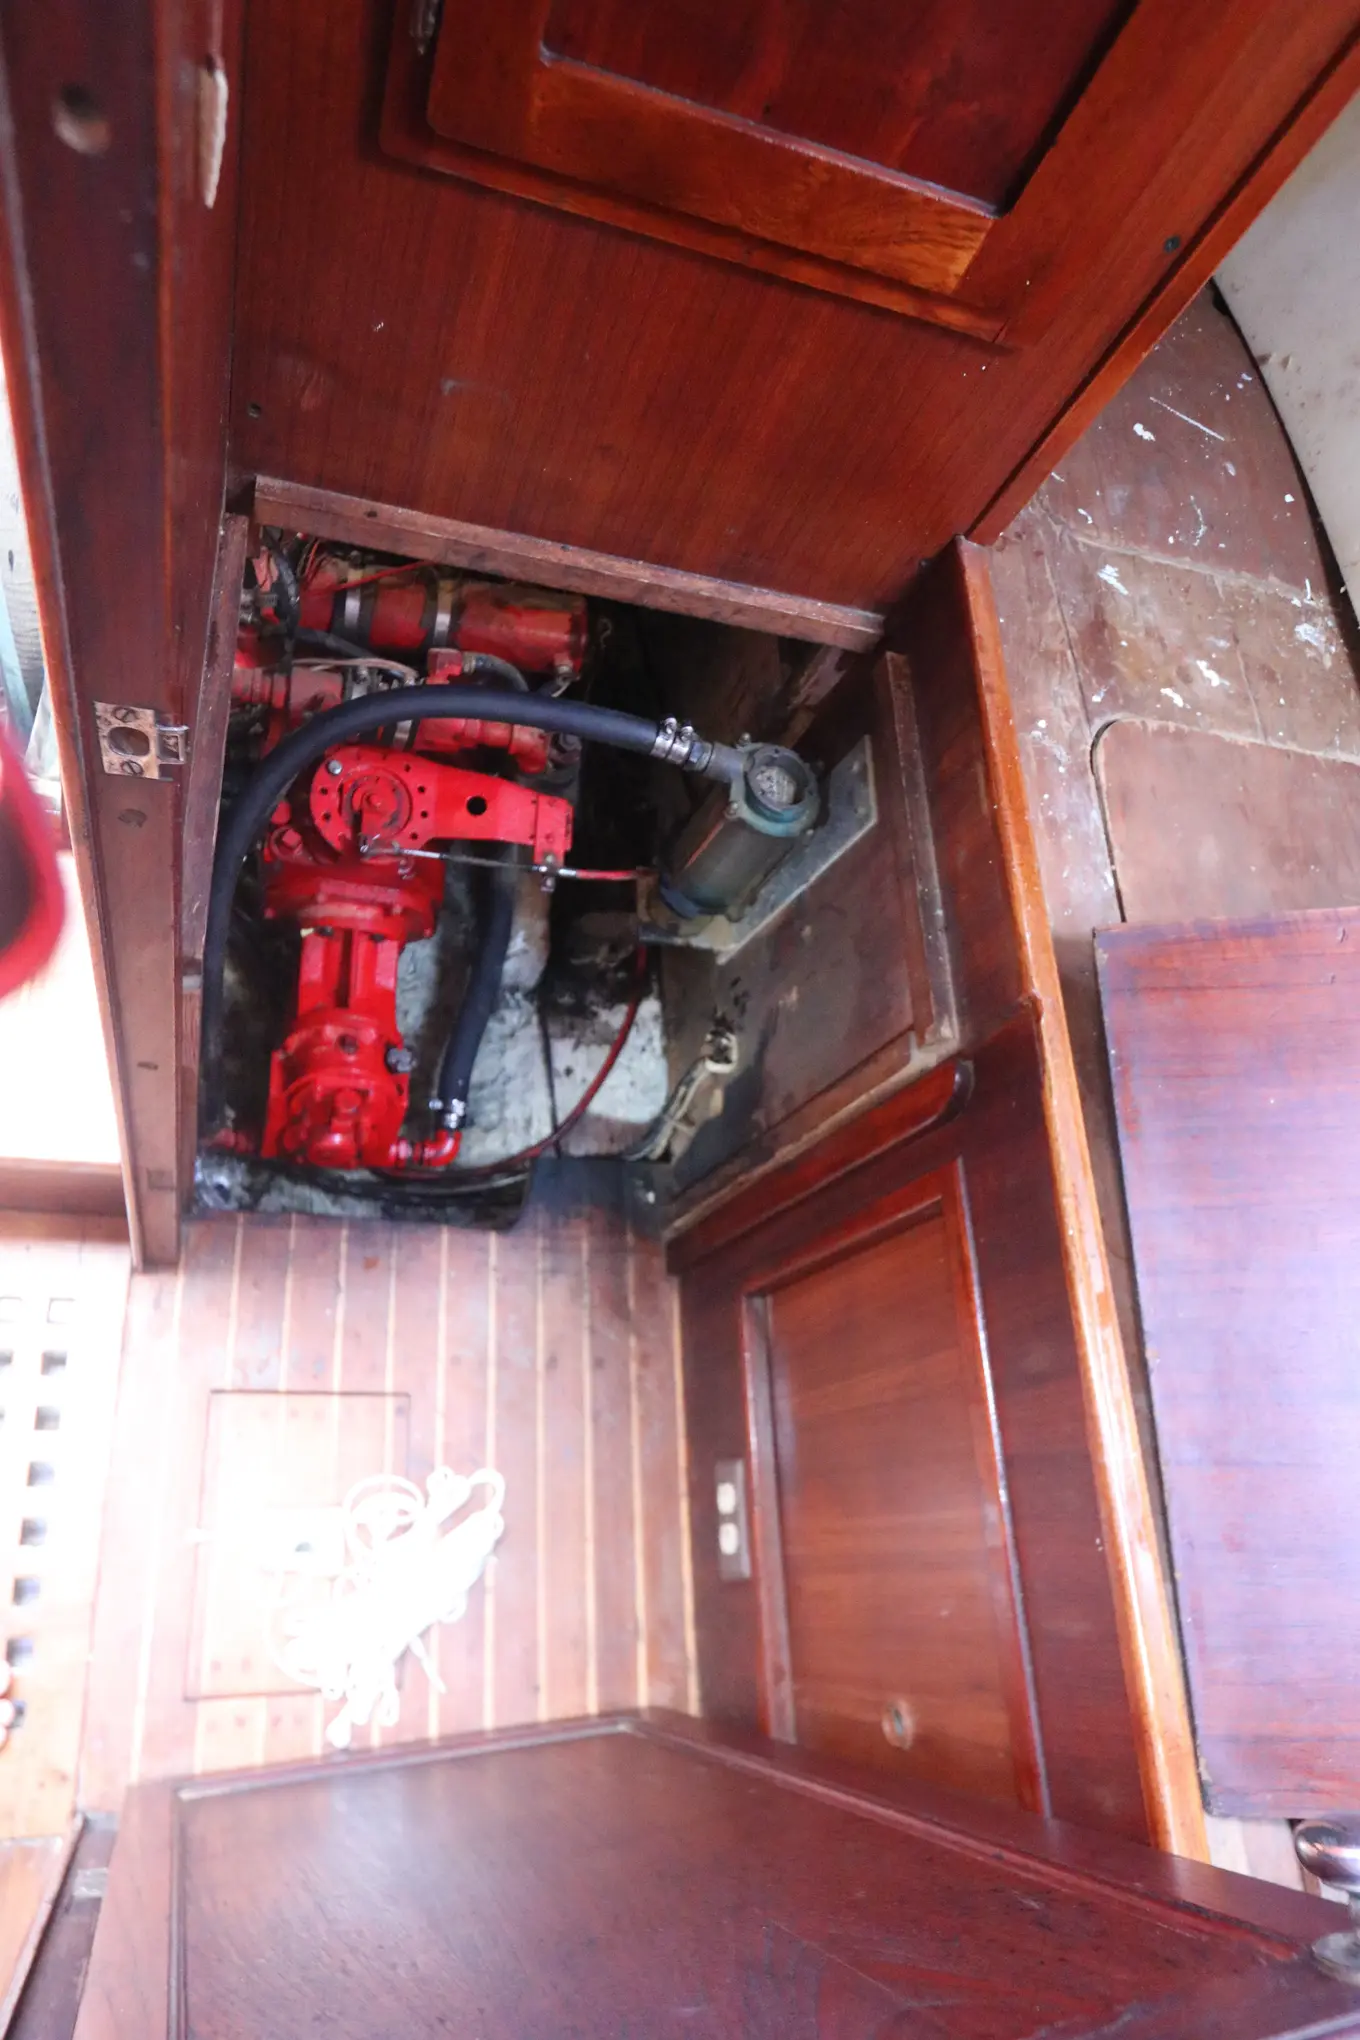
The gearbox and transmission are heavy, but i find its easier to lift it out as one unit as I can use the outlets on the V-Drive heat exchanger like a handle. I put some board down on the cabin sole to protect it. Be careful not to drop it on the stern tube or prop.
Refitting it you may want to split it in order to reduce the weight, but then it becomes harder to handle, so you have to pick your poison.
You’ll find that a 5/8” ring spanner cut in half (about 3-4”) makes getting the bolts out easier as in my case there isn’t enough room to get a socket and ratchet on there, yet a full length spanner is too long to swing anywhere. The first time I did this it was a pretty soul destroying job, but after you’ve got a couple of bolts out it gets progressively easier.
With the gearbox out, you'll have better access to the bellhousing, now you'll need to remove the heat exchanger, (or push it up and tie it out the way if you can) and any cables which are in the way. I leave the starter motor on so I can lock the flywheel later.
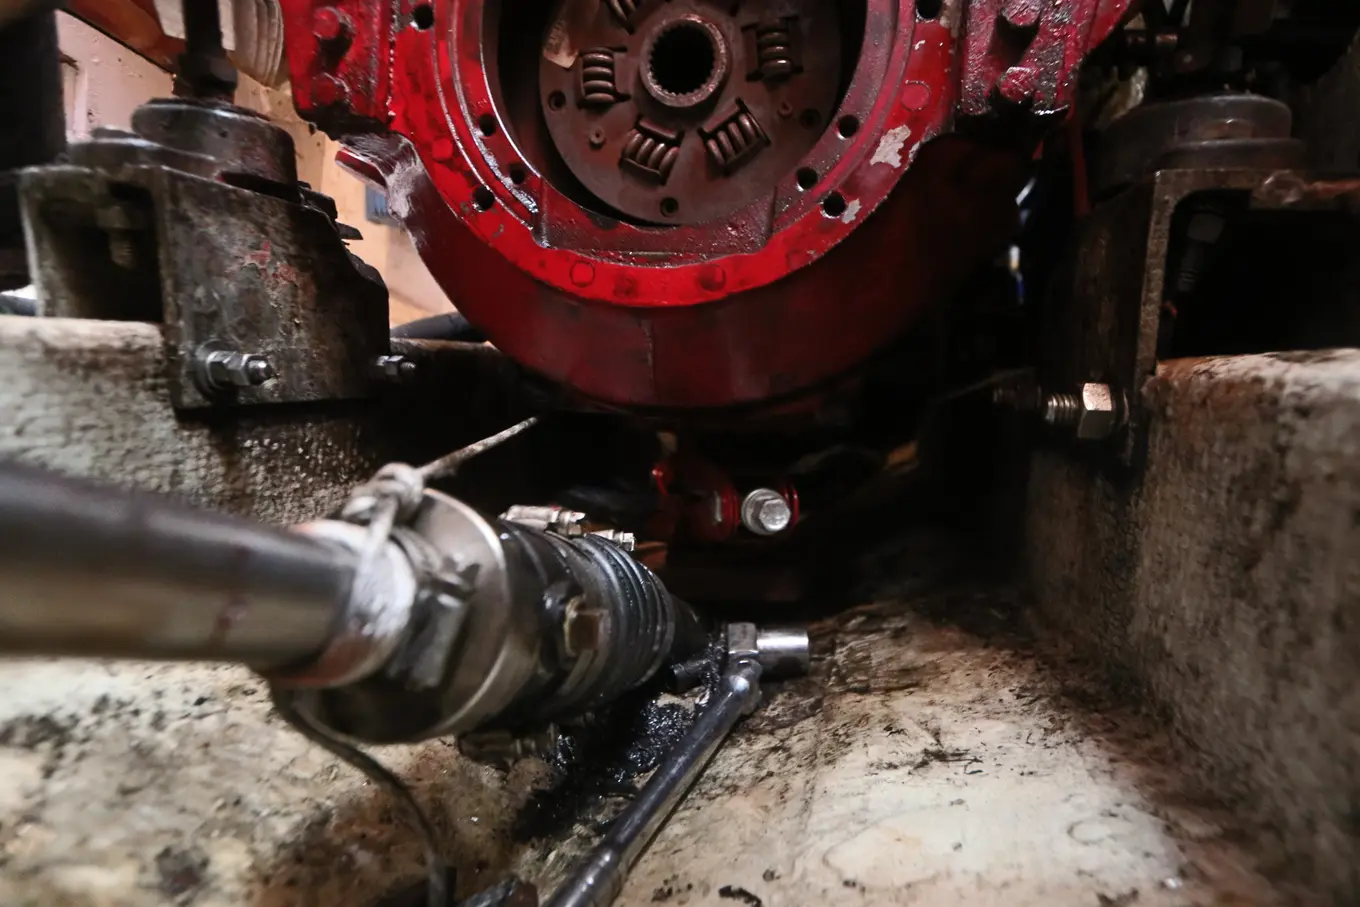
Next you need to be able to get the bell-housing off, this means supporting the weight of the engine. You can either lift the engine up off the rear mounts enough that the bell-housing can be slid back. Or, you can take the weight off the mounts, and then remove the mounts from the bell-housing. The latter is easier, but doesn't guarantee that your engine will go back in the same place due to slop in the mounting assembly.
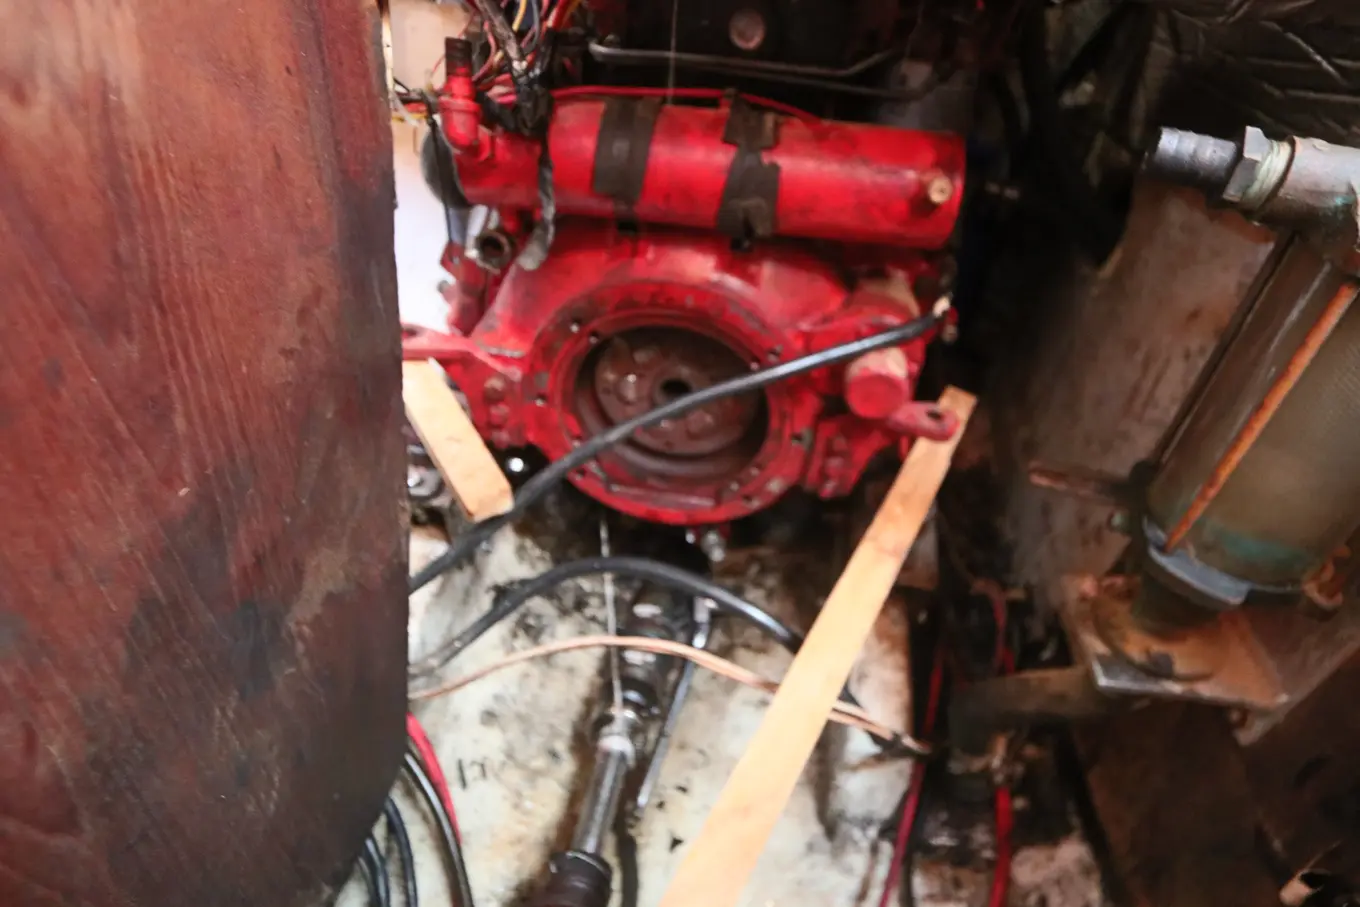
Some wood over under the holes can help to steady things whilst you prepare everything.
If you left the starter on, check there's no bolts going through to the bell-housing, and remove the bell-housing.
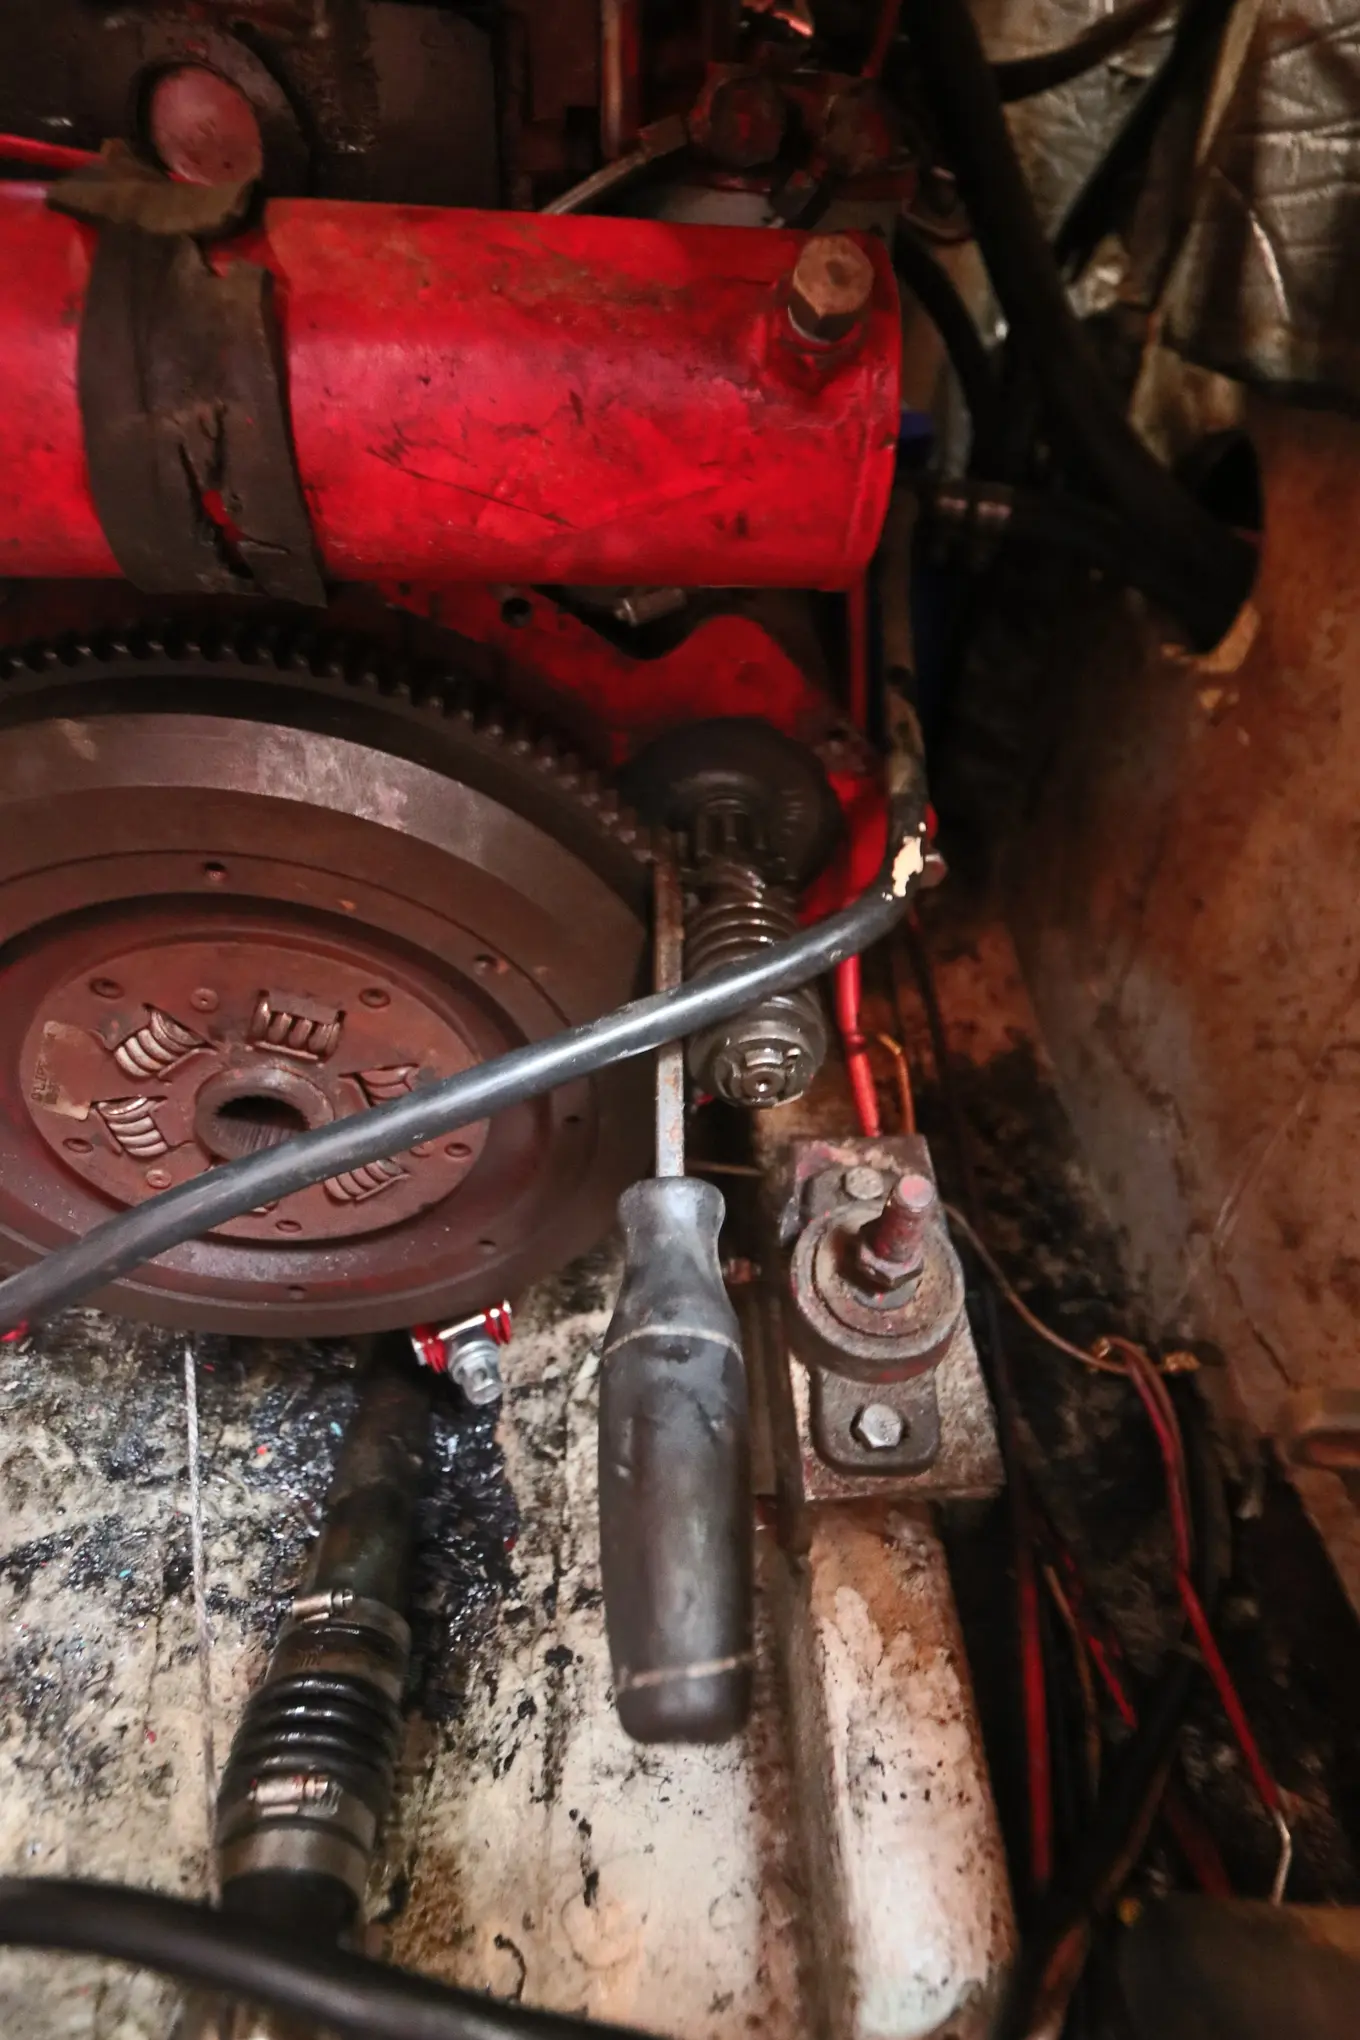
Now you need to decide if you want to take the backing plate off, this is only a few bolts and pins, and gives you better access to the seal, but requires yet more unscrewing, and it was quite awkard to remove and re-align.
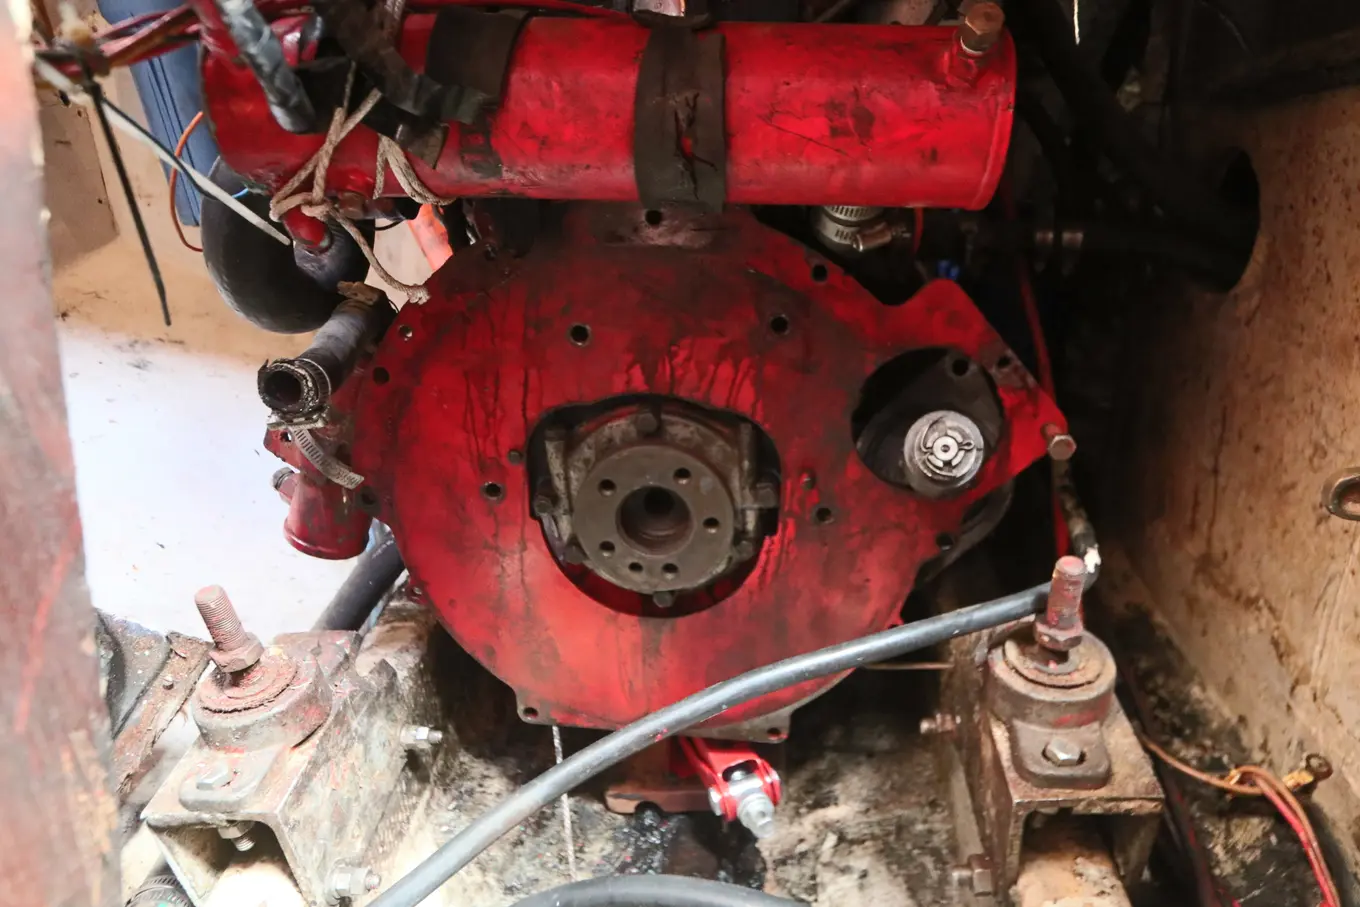
You can see in the above picture, that there was oil sloshing around in the bell-housing, but not from the rear seal. In this case the oil above was from the tappet cover, and most of the oil was coming out of the sump gasket.
Remove the seal carrier, and old seal, and clean out everything until it is spotless.
Replacing the seal
The seal is replaced by first fitting the seal into each carrier, and holding the carrier in something solid, (I used a Glamp against the exhaust heat exchanger) roll a large socket as hard as you can until the seal is fully home, you'll see the ends of the seal recede back towards the center. Keep doing this until you are sure you can't get any more seal in there.
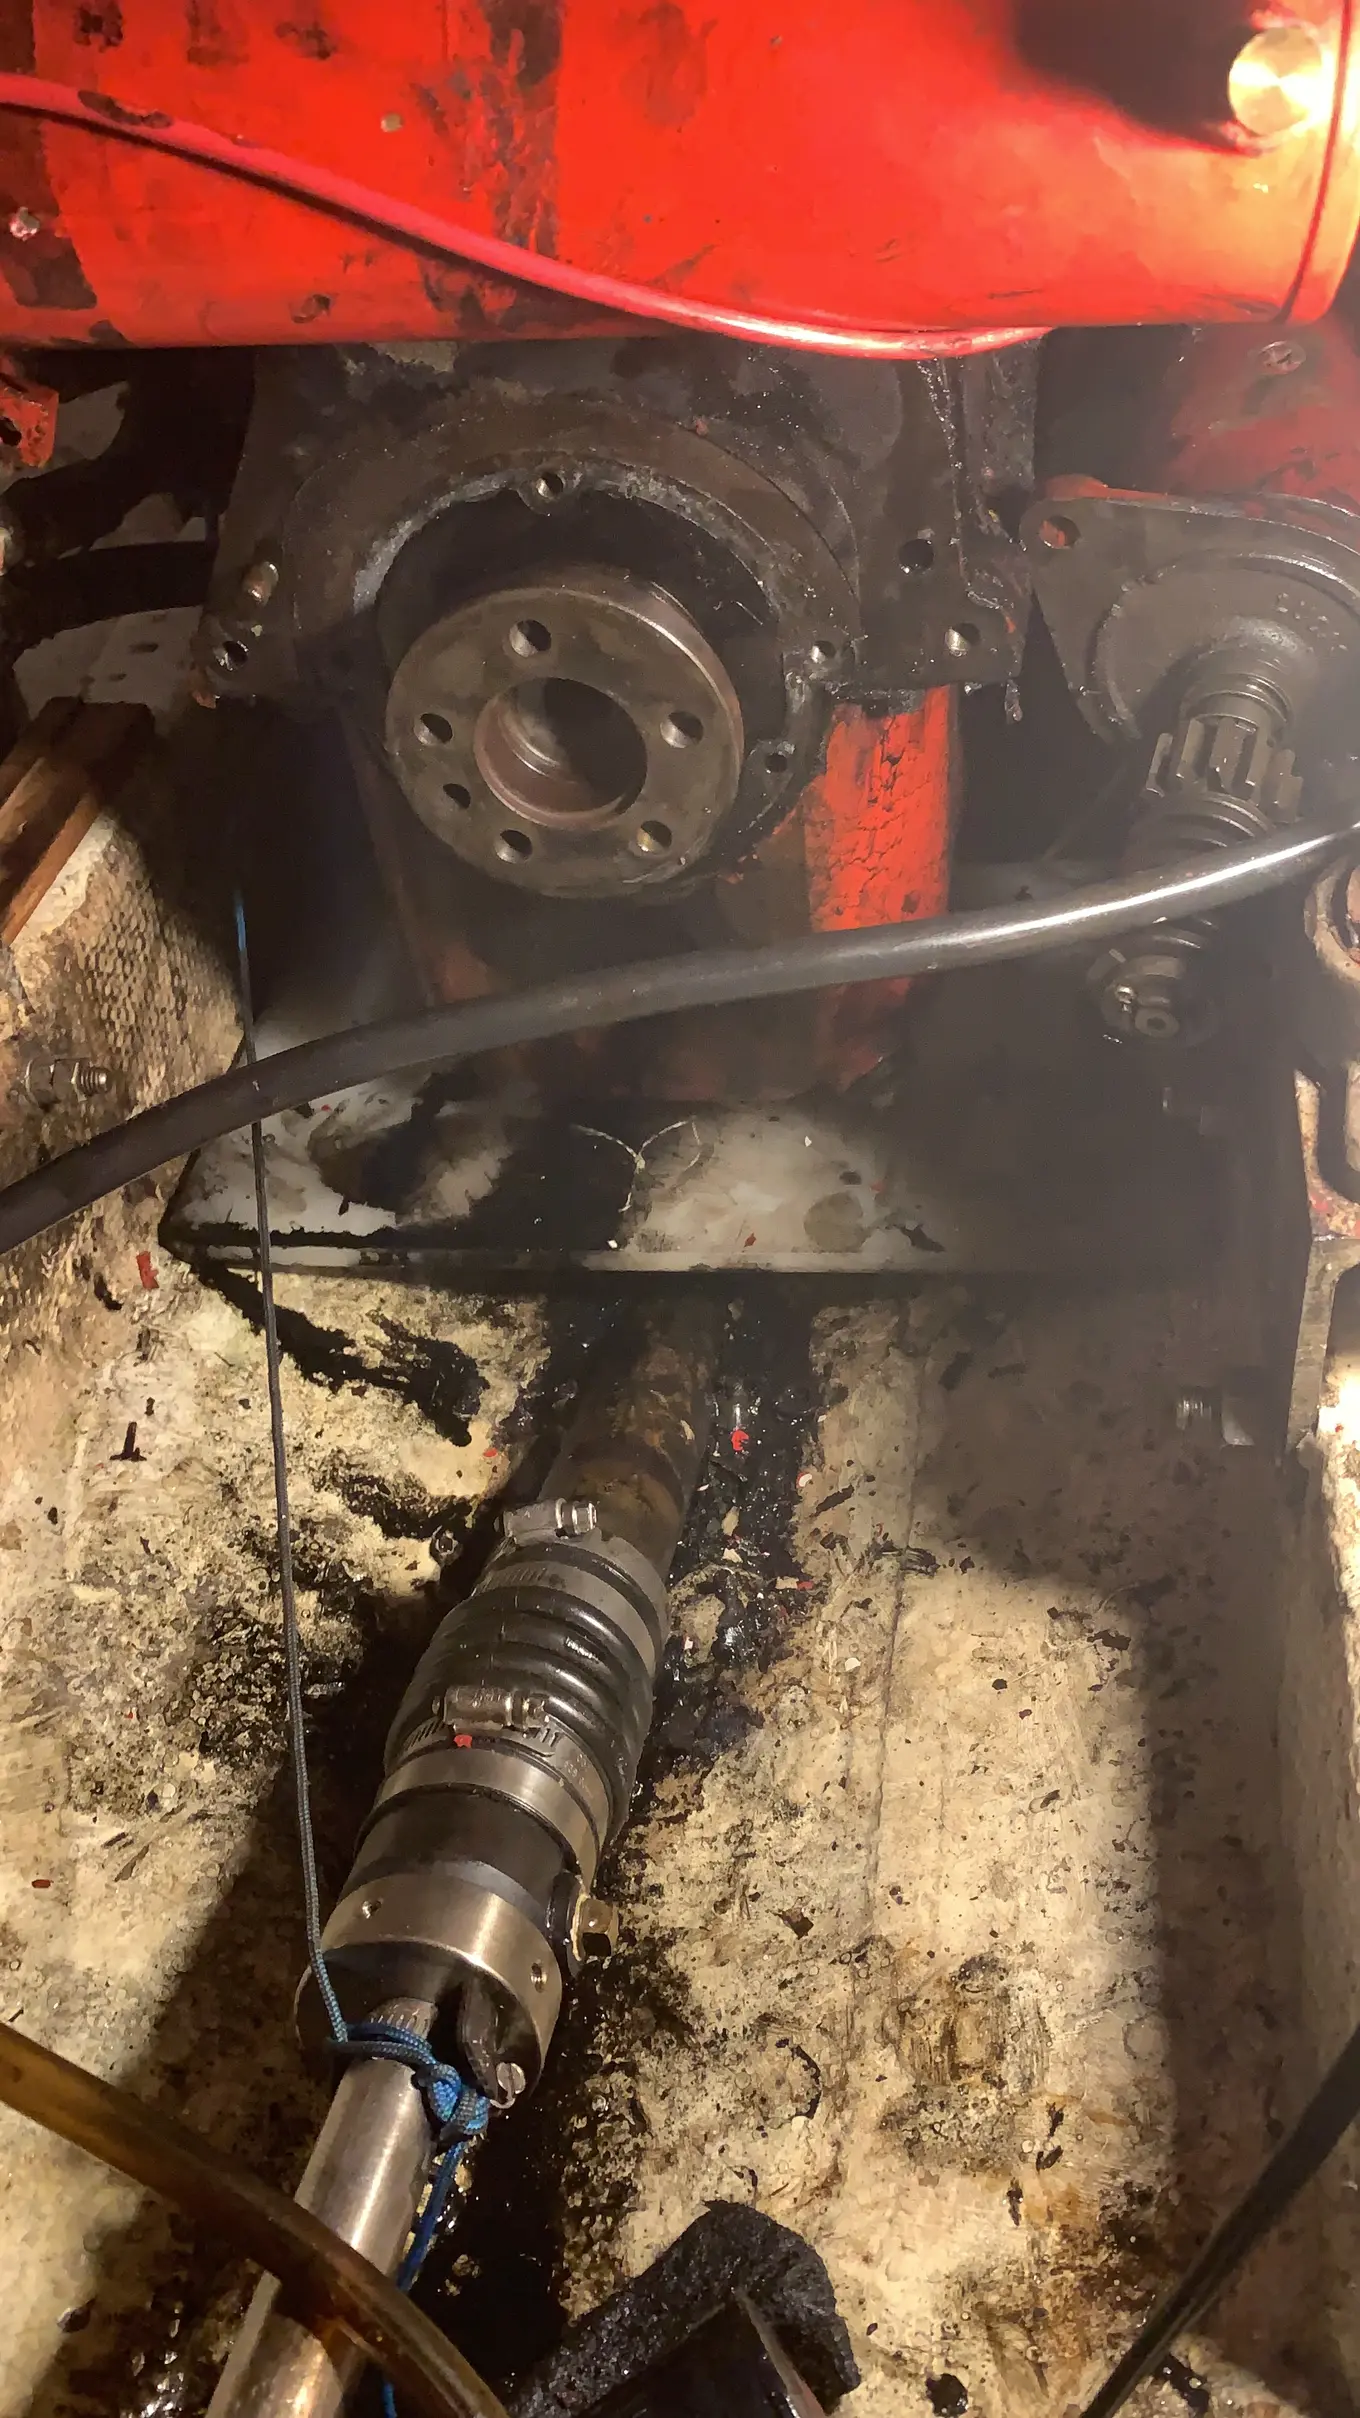
Using the scalpel provided, trim the seal so that it is about 1mm longer than the carrier. I use a very small amount of hylomar sealer on mating faces of the seal and carrier.
Re-assemble the carrier over the crank shaft, inserting a new gasket and torque it down.
Sump Gasket Replacement
If you are just doing the seal, you can re-assemble everything and be on your way, but this is a good time to replace anything else. In my case i had a leak from the sump, multiple leaks as it turned out, so you may want to remove the sump and replace anything whilst it's in pieces.
To remove the sump you need to transfer the weight of the engine off the jack, I used blocks of wood against the exhaust, and inlet manifold, it looked janky but it was pretty solid. The front mounts were still tight, so there wasn't much movement.
The sump unbolts using 1" long 7/16" bolts, which you can access using a stubby ratchet and various extensions. You'll be doing boat yoga to reach a lot of these.
Once you are sure every bolt is out, you can remove the sump, it will probably be stuck, so use a screwdriver or pry bar to loosen it. Be careful not to distort the sump in the process.
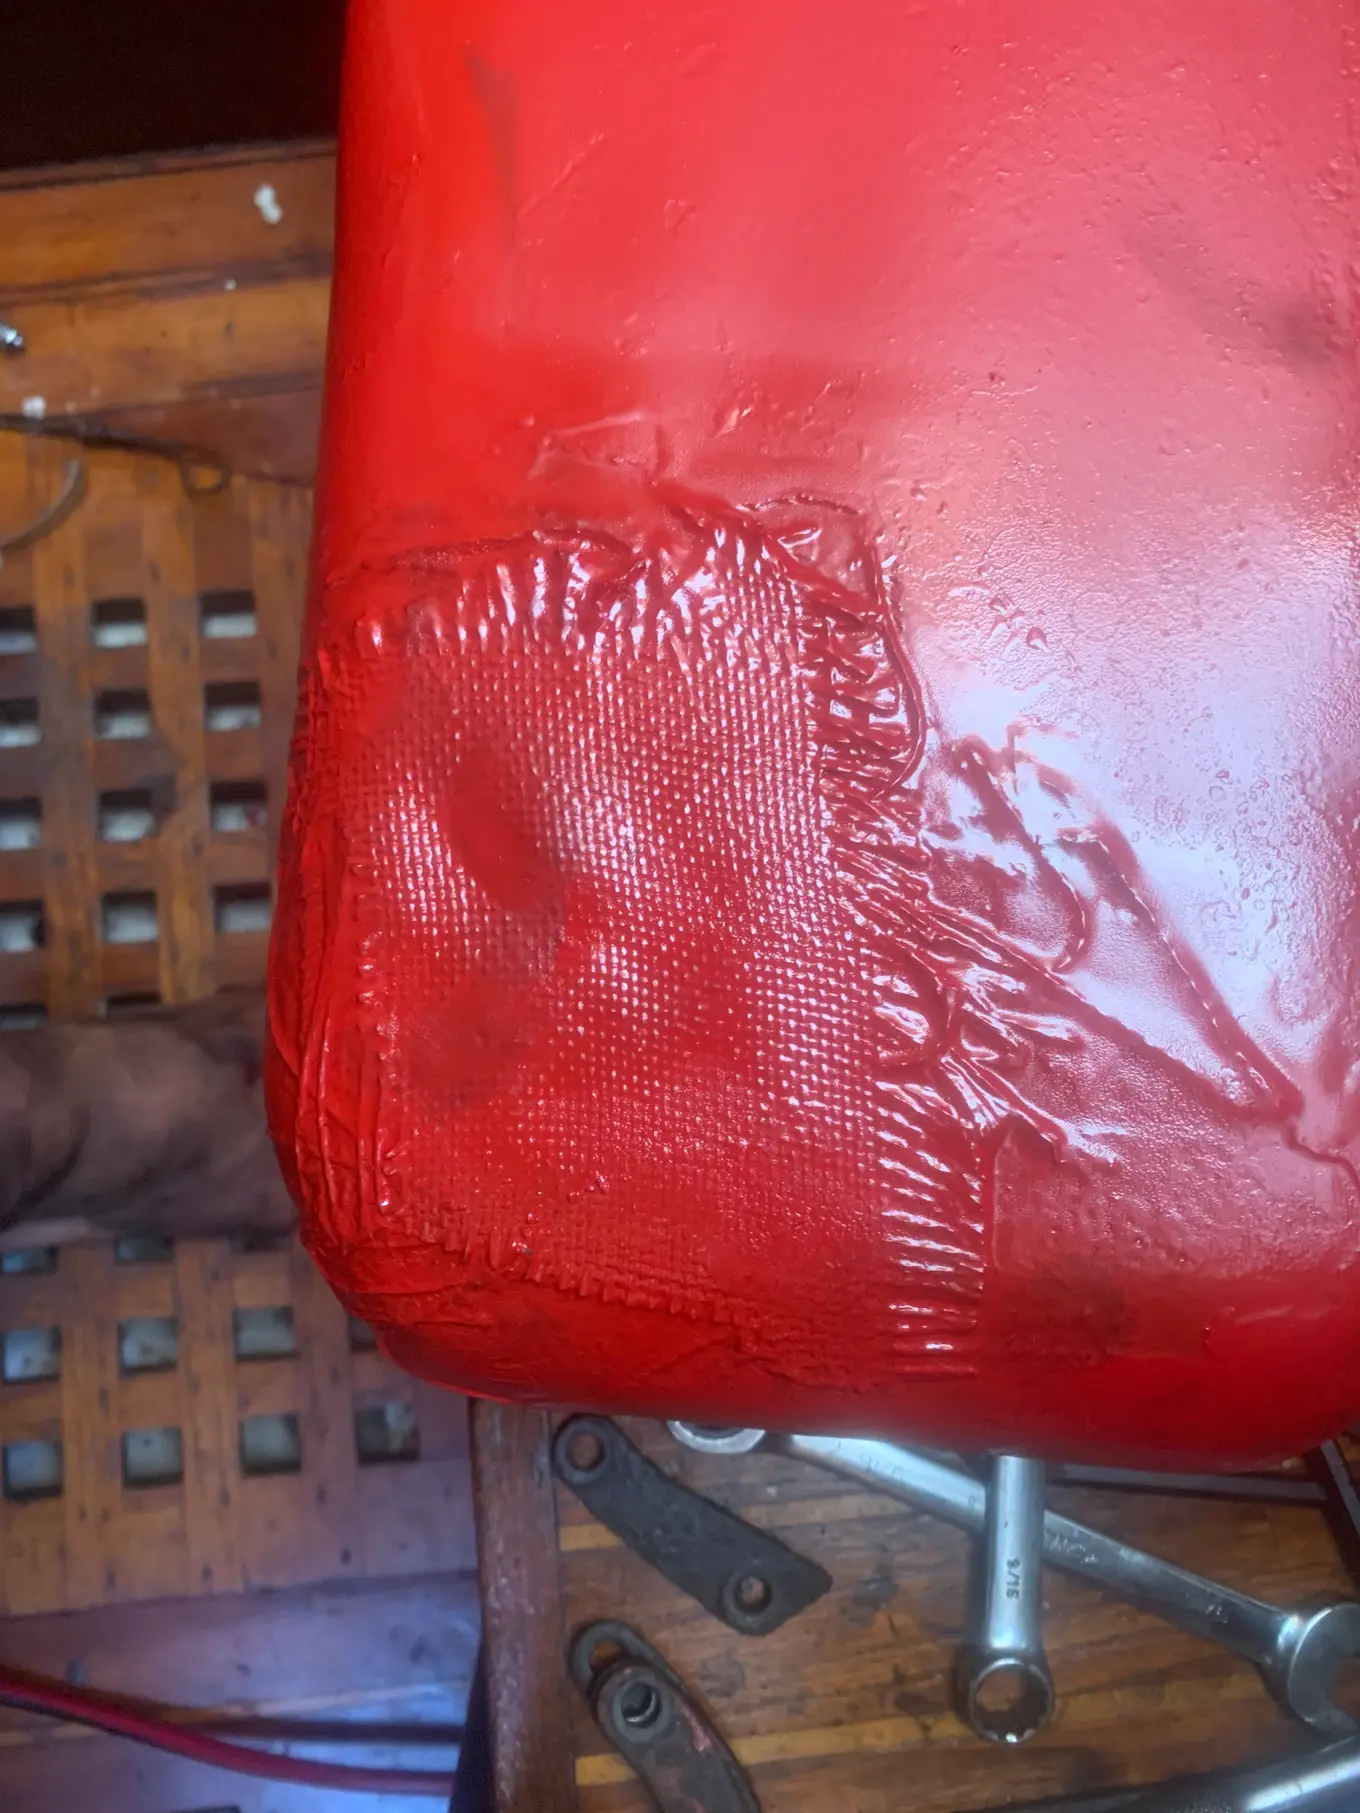
My sump was rusted through, there were some pin-holes at the front, and generally there wasn't much holding that part together save for some rubbery paint on the inside. I used epoxy to repair it.
Prior to refitting the sump clean out the grooves where the cork seals go, these must be spotless, but you can't see them directly, I used a small mirror and various wire brushes, scrapers, etc until i could see no trace of oil or the old seals and gasket.
I used a small amount of hylomar sealant on the cork strips, and a dob or two of contact adhesive to keep the new gasket seal in place. Some longer 1/4" bolts would have been great to help align the sump which was quite tricky given the limited access.
Re-Assembly
Reassembling from this point was straight forward and the reverse of disassembly, the hardest part was getting the gearbox to align back into the engine, I put some blocks underneath to get the height correct so I could focus on getting it aligned, that’s when the weight becomes a bit of an issue.
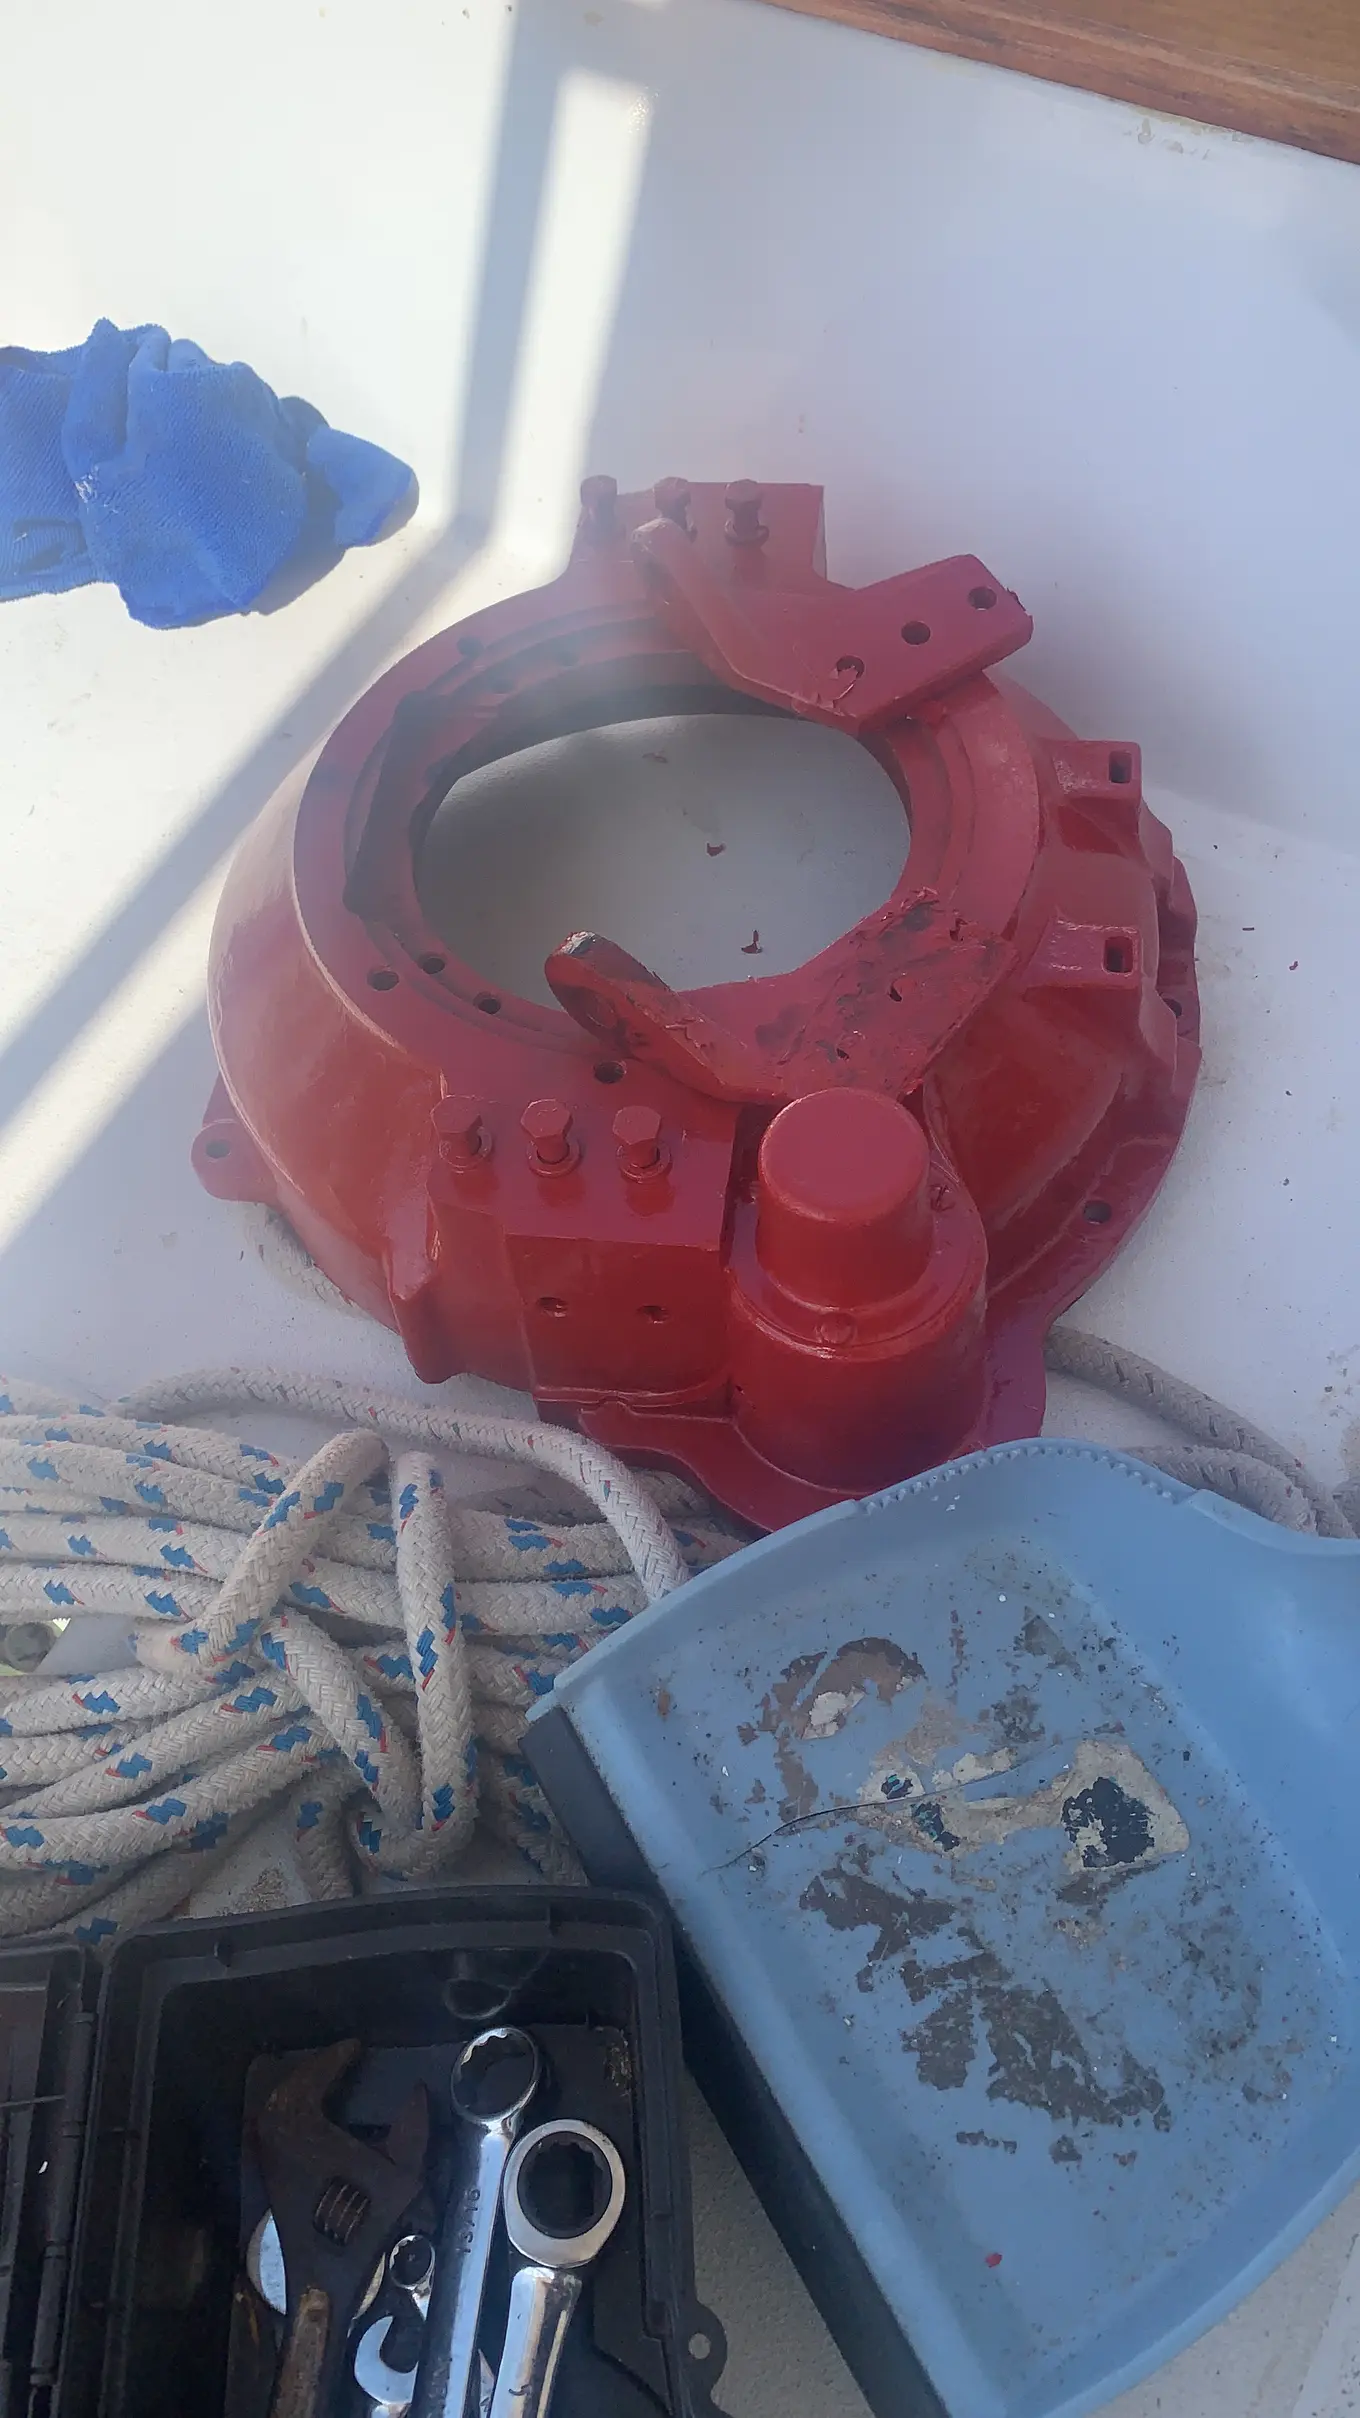
Don’t forget to fit the locking tab to the flywheel else you’ll be making quite a lot of contributions to the swear jar.